- Choose the right lighting: Good lighting is crucial in food photography. If you’re shooting indoors, try to find a spot with plenty of natural light. If you’re shooting outdoors, avoid direct sunlight and opt for a cloudy day or find a spot with some shade.
- Use a tripod: Using a tripod can help stabilize your camera and ensure sharp images. It also allows you to take your time and compose your shots carefully.
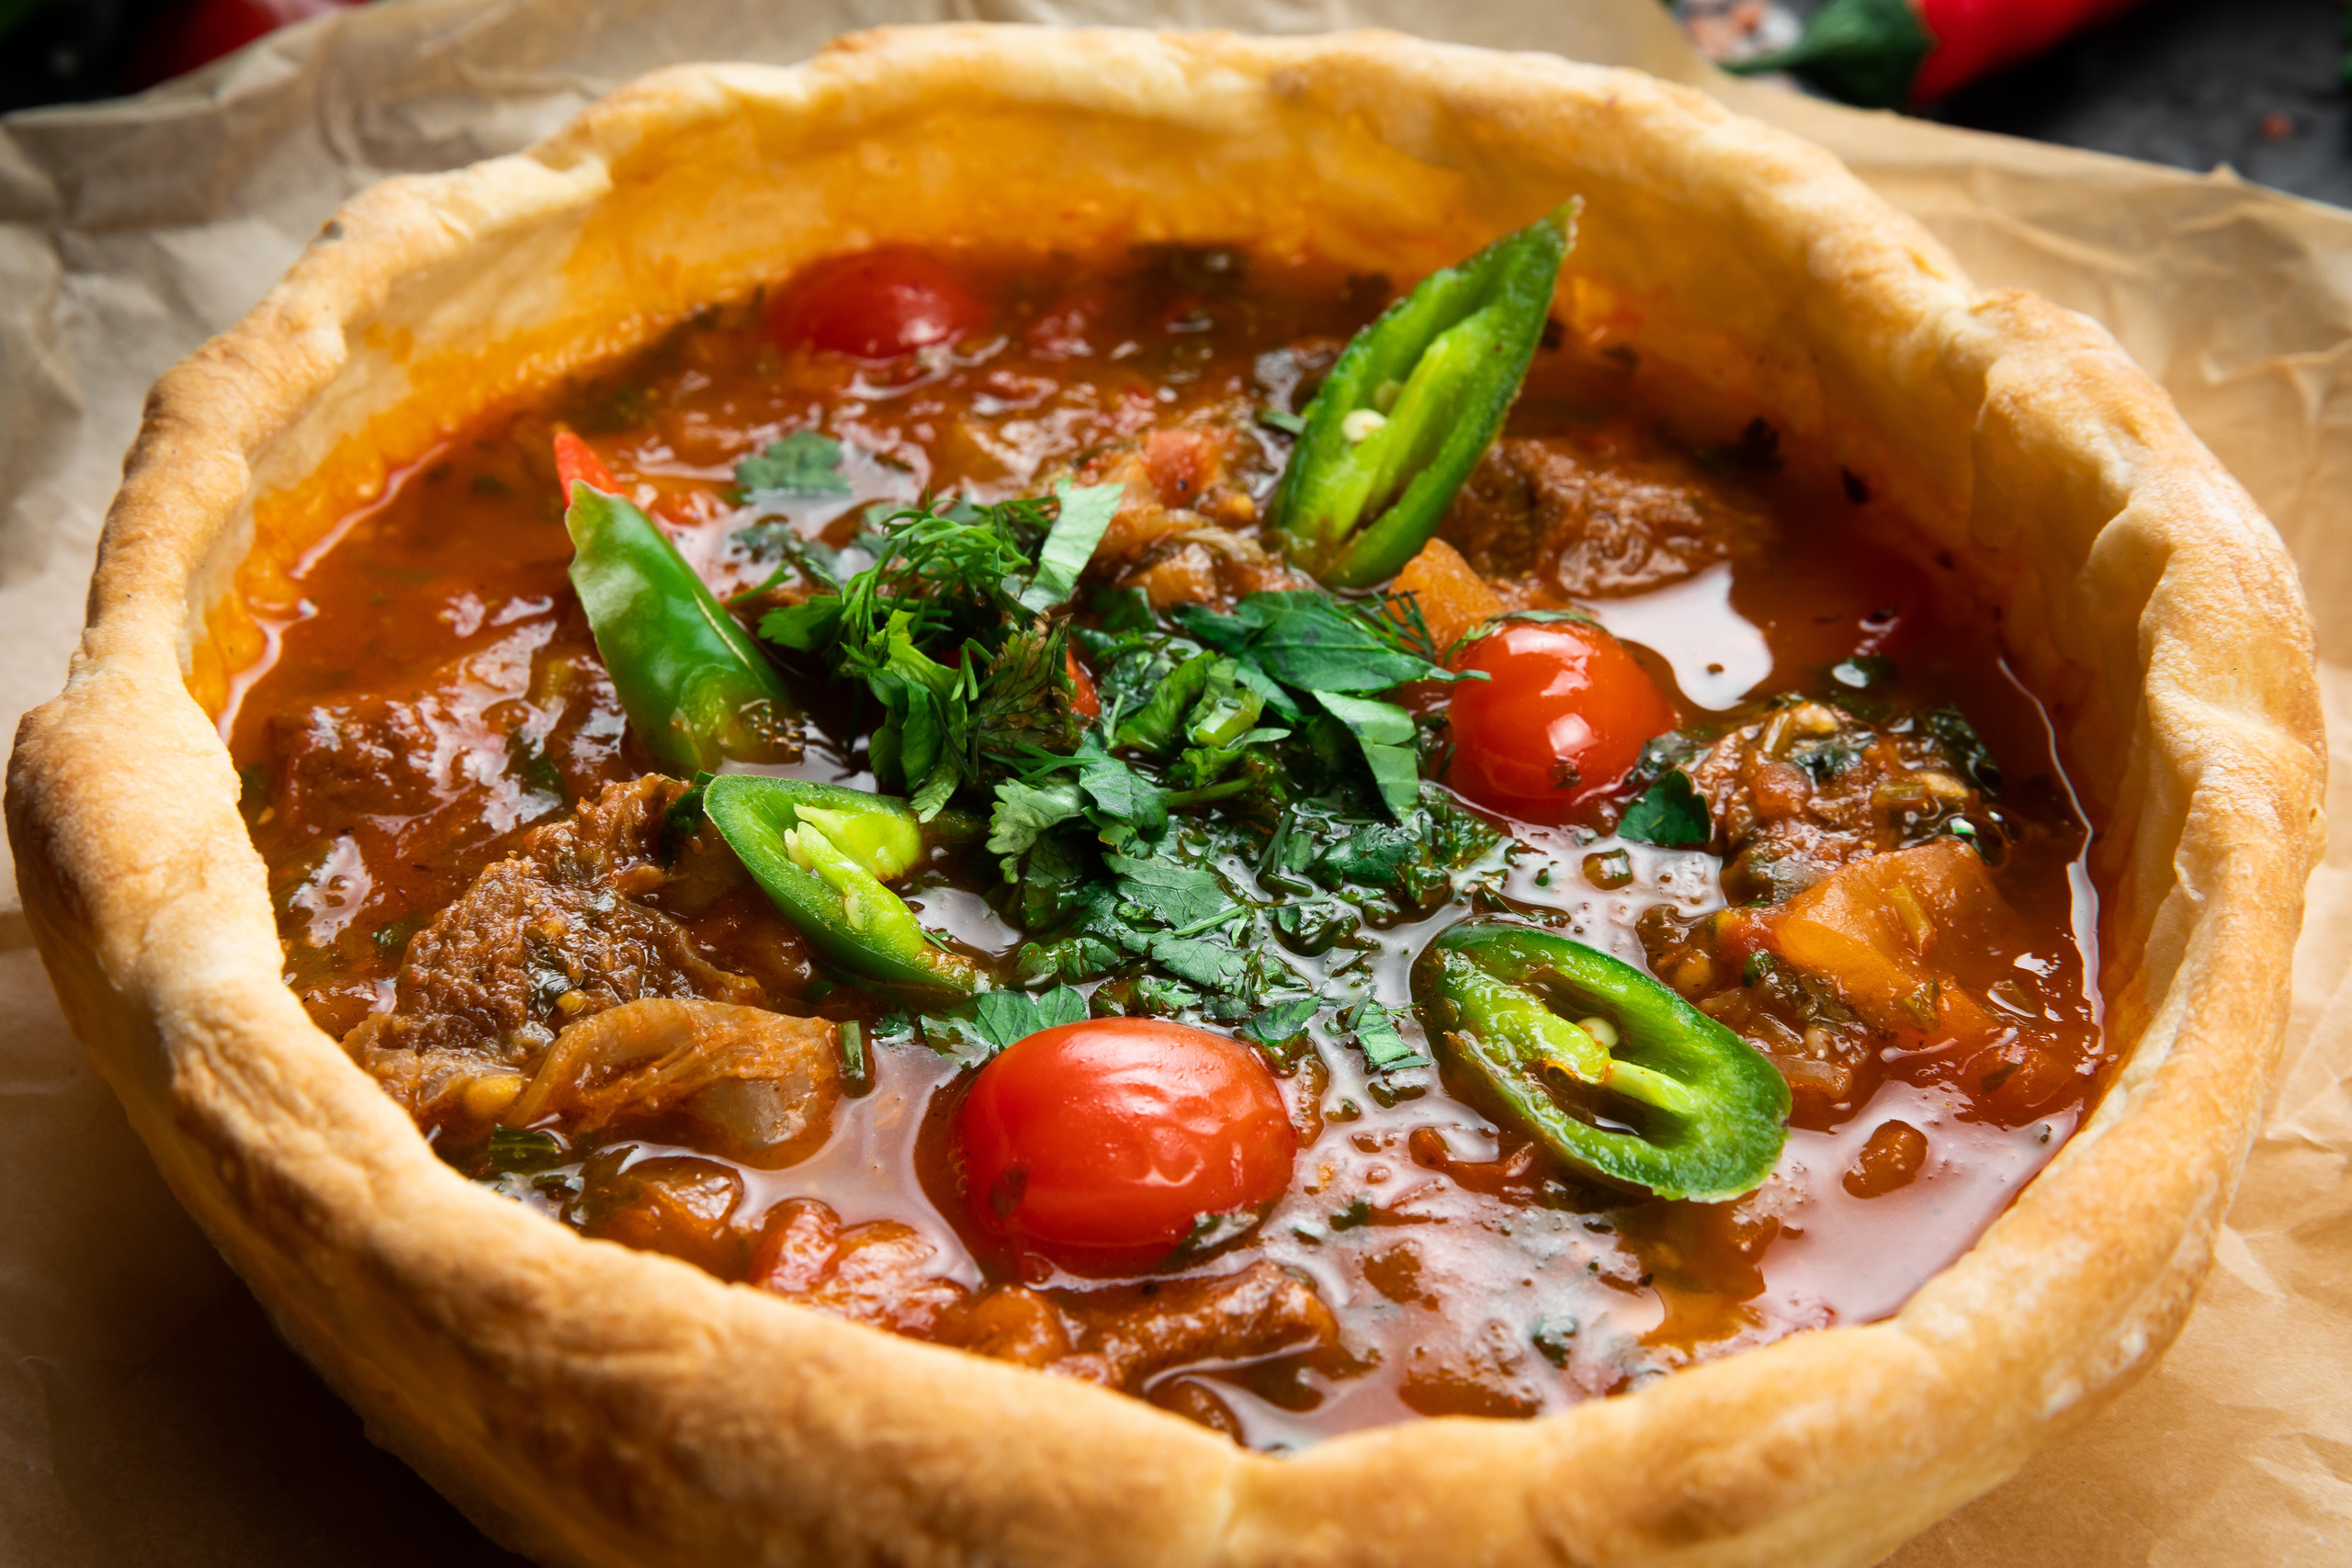
- Focus on the details: Details are important in food photography. Try to capture the textures, colors, and shapes of the food. Pay attention to the background and foreground as well, and make sure they complement the food.
- Use props: Props can add interest and context to your photos. Consider using utensils, plates, glasses, or ingredients to create a story around the food.
- Experiment with angles: Try shooting from different angles to find the most flattering perspective. Consider shooting from above, at a 45-degree angle, or straight on.
- Don’t over-style the food: While props can add interest to your photos, be careful not to over-style the food itself. You want the food to look natural and appetizing, not artificial or contrived.
- Play with depth of field: Depth of field refers to how much of the photo is in focus. By using a wide aperture, you can create a shallow depth of field that blurs the background and makes the food stand out.
- Shoot in RAW format: Shooting in RAW format gives you more control over the final image. RAW files contain more information and allow you to make more adjustments during editing.
- Edit your photos: Editing your photos can help bring out the colors and details in the image. Use editing software like Adobe Lightroom or Photoshop to adjust exposure, color balance, and sharpness.
- Practice, practice, practice: Like any skill, food photography takes practice. Experiment with different techniques, try new things, and don’t be afraid to make mistakes. The more you practice, the better your photos will become.
Blog

10 reasons to hire a professional food photographer!
If you’re in the food industry, whether you’re a restaurant owner or a food blogger, having high-quality,...

Food photographer in Saint-Petersburg!
If you’re looking to take your food business in Saint-Petersburg to the next, consider hiring a professional food...
